


How to Sew: Cute Gift Card Pouch | Beginner Sewing Tutorial
By a Bug & a Bean | Posted on 2025-12-09Learn how to sew a cute gift card pouch in minutes. This beginner-friendly sewing project includes a video tutorial and free pattern to get you sewing quickly. Perfect for the holidays!
Post TagsSEWING PROJECTS
This post may contain affiliate links. If you make a purchase through one of our affiliate links, we may receive a small commission at no additional cost to you.

Table of Contents
Don't Forget to Pin This!
Don't lose this idea. Save it for later or share the magic with a friend. Pin it to your favorite Pinterest board!
Looking for a fast and fun holiday sewing project for absolute beginners? This adorable gift card holder with free PDF pattern will get you sewing in minutes! This project takes around 10 minutes to complete and will add some holiday cheer to your gifts. For added fun, use a hot glue gun to add a ribbon or tie and hand on a tree or attach a personalized gift message. If you are new to sewing, check out our essential sewing supplies guide to help you get started with the right supplies.
Supplies Needed
- Free PDF sewing pattern.
- 2 pieces of cotton fabric
- Medium weight fusible interfacing
- Plastic snaps and snap plier tool
- Optional: resin charm & ribbon
- Optional: hot glue gun for attaching charm and ribbon
Amazon Sewing Essential Deals

Cutting Mat and Tool Set
Black Friday Deal! Get everything you need to start cutting! This self-healing mat set is perfect for cutting straight lines.

Medium Weight Fusible Interfacing
Black Friday Deal! Get a large roll of medium weight fusible interfacing for your sewing projects!
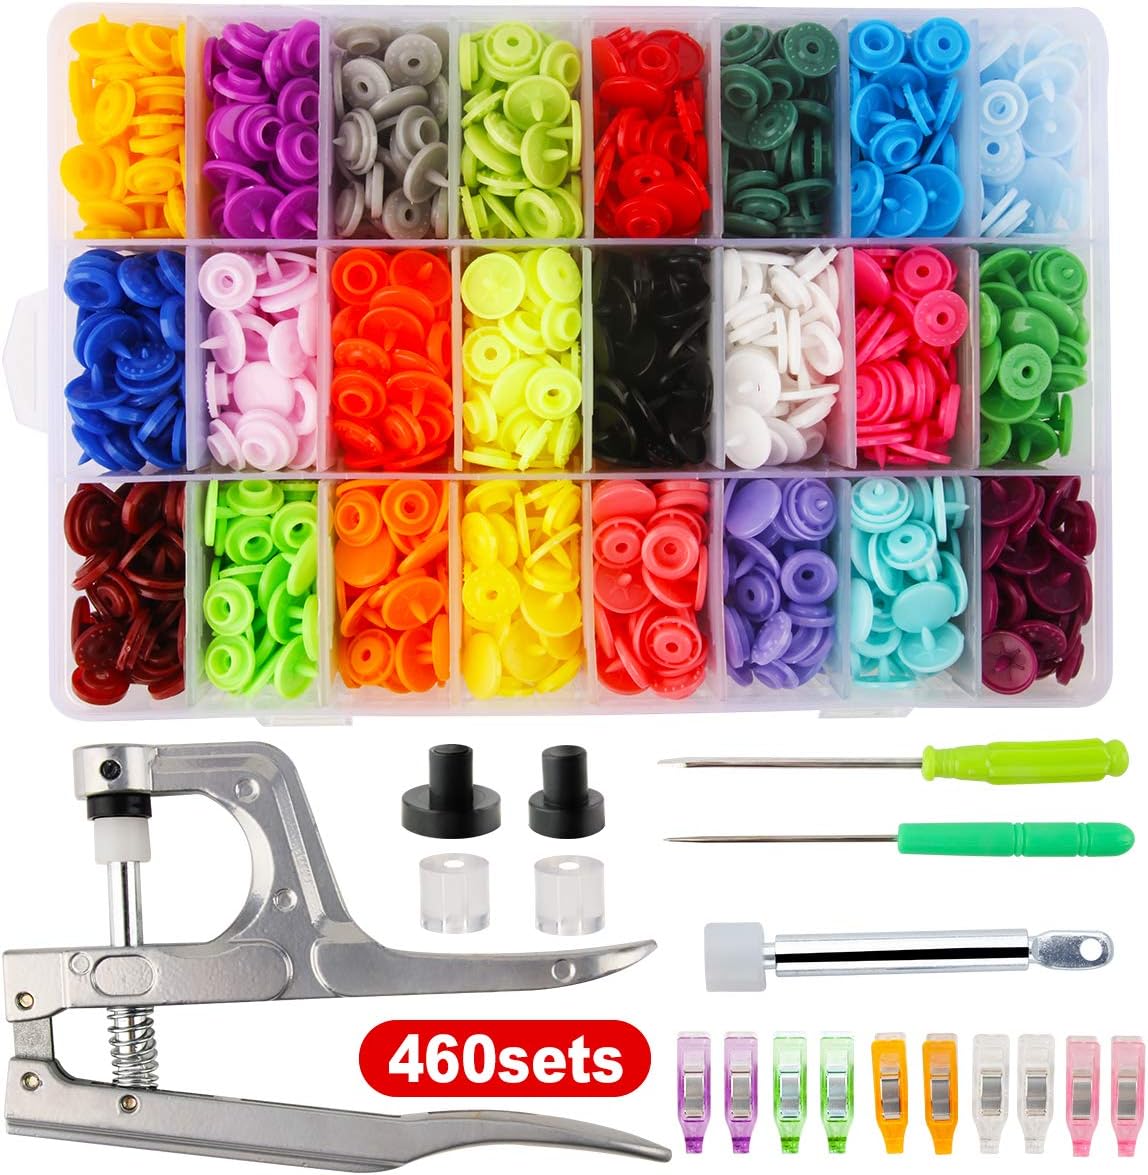
Plastic Snap and Plier Tool
Black Friday Deal! Easily attach plastic snaps to your project with this full set of snaps and pliers.

Quick Fabric Turn Set of 3
Black Friday Deal! Easily turn fabric and corners with this set of 3 tools for varying sizes.

Rotary Cutter and Scissor Set
Black Friday Deal! Make sure you have the right cutting tools with this rotary cutter and fabric scissor set!
Step-by-Step Instructions
Follow these simple steps to sew your gift card holder:
Step 1: Download and Cut Out the Pattern
Start by downloading our Free PDF Sewing Pattern. Print on 8.5 x 11 inch paper and confirm the size is correct. Our pattern has a 1 inch square to confirm the pattern size printed correctly. Cut out the pattern around the solid lines. This pattern includes an outline for optional side flaps in case you want the inside flaps to be a different fabric from the main pouch.
Step 2: Trace the Pattern & Cut Interfacing
Place the pattern on medium weight fusible interfacing and use tailors chalk to trace around the pattern outline. After you trace, cut out the pattern from the fusible interfacing. Note: You can optionally pin the pattern to the fusible interfacing and cut around the pattern.
Step 3: Iron on The Interfacing
Place the bumpy side of the fusible interfacing onto the wrong side of your cotton fabric and iron. Note: Your cotton fabric should extend at least half an inch longer than the fusible interfacing on all sides.
Step 4: Sew main fabric and lining
Place the cotton fabric with the fused interfacing and another piece of cotton fabric right sides together. Cotton fabrics should be the same size. Follow the outline of the fusible interfacing and sew around the design leaving a small gap open for turning.
Step 5: Trim, Turn fabric, and iron
Use fabric pinking sheers to trim the edges. Use the gap to turn your fabric right side out and iron flat.
Step 6: Fold in side flaps and edge stitch
Fold the two flaps on the side inward and iron. With the flaps in, stitch around the edges of your entire gift card holder (this should also catch the opening that you used to turn). Tip: Choose thread to match your fabric for a more polished look.
Step 7: Attach Snaps
Use the guide on the PDF pattern and line it up with your gift card holder. Poke a hole through the black circle (and your fabric) for top snap placement. Use your plier tool to attach the top plastic snap. Fold the bottom of your gift card holder up to align placement of the bottom snap. Use your plier tool to attach the bottom plastic snap.
Step 8: Embellish
Optionally, embellish your gift card holder with ribbon, string, or resin charms. I used hot glue to attach a string loop and resin charm to the back of the top plastic snap. This makes it to attach a special gift message with your gift card.
Embellish Your Design

18 Color Set of 1/8 inch ribbon
This set of 18 colors is perfect for craft and sewing projects. Perfect for adding loops to ornaments and straps to doll purses.

Candy Charms for Embellishment
These sweet treat charms have a flat back and are perfect for gluing to the back of plastic snaps festive embellishment!

Cordless Hot Glue Gun with Nonstick Drip Catcher
This is my favorite hot glue gun. It uses large glue sticks and has a non-stick pad in the front to catch glue drips.

Flat Backed Holiday Resin Charms
This set of 200 holiday themed flat-back resin charms are perfect for embellishing your sewing projects.
Video Tutorial
Watch us sew this project on TikTok. Follow our account @abugandabean for more sewing tutorials.
@abugandabean The end up the year is coming up quickly and I'm making these gift card pouches for teacher gifts. I added a little string loop to attach candy canes and a gift tag. The pattern for this project is free on my website under sewing patterns. Visit abugandabean.com to download & print a copy. Hope you enjoy! #sewingtutorial #sewingproject #sewingtok #easysewing #beginnersewing #handmadewithlove #diycrafts #sewingideas #crafttok #sewingfun #sewwithme #craftymom #craftymoms #sewingforbeginnerse #learntosew #sewingmywayto10k #fyp #craftyideas #handmade #handmadegifts #holidaygifts #teachergift #holidaydiy #happyholidays #fatquarters #fatquarterprojects #abugandabean ♬ Christmas Jazz Jingle Bells - Dmitry Khlynin
Join the Crafty Creator Club ✨
Get exclusive access to free printables, special discounts, custom template access codes, and creative inspiration.
Join the Magic